
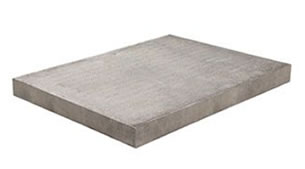
We stock council paving slabs 900x600x50mm and council paving slabs 600x600x50mm.
Council paving slabs are an excellent, multi-use building material. They can be used to create paths, patios, retaining walls, bases for sheds and much more. This website is dedicated providing information surrounding council slabs including advice and tutorials. You can purchase council slabs from our main website www.onlinebuildingsupplies.co.uk where you will also find a huge range of other building materials.
How to create a patio with council slabs
There are various ways to create a council slab patio. Council slabs are fantastic choice for garden patios as they are generally very cheap and can be installed pretty quickly. You can create your patio as big or as small as you would like and so they are suitable for any size garden.
Things to consider when laying a patio:
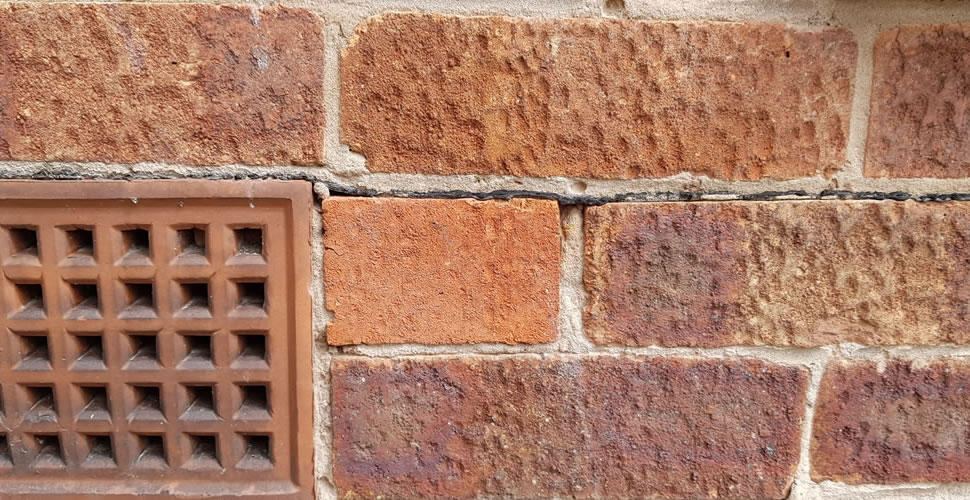
If you are planning to lay your patio next to your home or outhouse you will need to make sure your patio won’t exceed 150mm below the dpc. Failure to do this could result in damp or mould problems inside the home. On most buildings, the dpc layer can easily be identified as a thin black tape which slightly protrudes between two rows of bricks. More often than not, the dpc can be found just above than air brick. You can see an example of this below.
Water logging
To prevent puddles of water collecting on the surface of your patio you will need to create a slight slope to one side.
Equipment:
Spirit level
Tape measure
Shovel
Wooden board and rubber mallet (or plate compactor)
Hardcore Sub base material e.g. Mot Type 1
Step One: Measure
Once you’ve planned where your patio is going to be laid and how large your patio will be, you will need to measure and mark the area. You can do this with marking spray paint, string or wooden planks. Once you’ve marked the area you will need to excavate a shallow well of around 150mm-160mm. This will allow for materials and ensure your patio will be level with its surroundings. Remember to consider the slight slope you will need to prevent water logging on your patio.
Step Two: Weed control
You may want to lay a weed control membrane before adding your sub base. If you do make sure the sheets overlap around 1 inch to avoid gaps.
Step Three: Add sub base
Now you will need to lay your hardcore sub base. You can use various aggregates for this, however we recommend using something like MOT Type 1. We can deliver MOT type 1 to your home in bulk which will save you time and money. Once you’ve added the sub base, level it out with a rake.
Step Four: Compact Sub base
Now you will need to compact the sub base so that it is a flat, level surface. To do this you can either use a purpose built plate compactor or manually using a wooden board and a rubber mallet. If the area is small enough you may be able to compact the sub base simply by treading on it.
Step Five: Add Screed or mortar
At this stage you can choose to either lay a sand screed or mortar. The latter can be a tad more technical so if you’re inexperienced in DIY we recommend a simple sand screed. To create your screed pour sharp sand over the hardcore sub base and level with a screeding tool or straight plank of wood. Once you’ve levelled your screed lay down the council slabs and brush over with jointing sand. If you choose to fix the slabs with mortar you will need to make sure your mix is the right correct consistency. You can test this by squeezing the mixture in your hand: if there is too much water you will notice the mixture runs as you loosen your grip, if the mixture crumbles or cracks you have not added enough water. Once you have worked the mortar to achieve the correct consistency you can start laying the concrete slabs. You will want to lay one slab at a time with enough mortar to cover the space of one slab and a little extra for pointing. Make sure you leave an equal gap between each slab. To do this you can either use a ruler or a paving spacer. Lay one council slab at a time and tap the slab gently using your rubber mallet to secure. Leave the mortar to dry for a day or two and fill the joints with a mortar mix. This mix needs to be slightly damp and can be applied with a pointing tool or trowel. Sweep and clean the flags with a sponge and leave once again for another 24 until the mortar dries.
Tip: if rain is forecast cover your patio with a plastic tarp and secure with bricks. Leave the covering on for 3-4 days or until the mortar is completely dry.
Although on they are often used for their durability and cheap price point, council slabs can still be used to create modern and stylish landscapes. However, if not kept clean and free of weeds your concrete slab patios and paths can quickly become unsightly. Algae can develop on the top of your concrete slabs which, aside from being an eyesore, can also make them slippery and hazardous. As well as algae dirt will also collect on concrete slabs over time. Dirt will collect more easily on textured council slabs as it becomes trapped in grooves and dents.
There are many ways to clean concrete paving slabs. To decide on the best cleaning method for your own path/patio there are a few things you will need to consider. First of all, how large is the area you want to clean? If you have a huge area to tackle you will want to apply a method that is quick and not too labour intensive. The second thing to consider is how the patio has been laid: for example, if your patio has sand jointing, a pressure washer may not be suitable as it could blast out the jointing material. Finally, consider how much dirt there is to remove: a patio that hasn’t been cleaned in 10 plus years will require a more abrasive method than a patio that is just a year old.
Method one: pressure washer
Whilst possibly the easiest patio cleaning method, it’s important to remember not all pressure washers perform the same. Some high end washers will blast away even the most stubborn dirt, but, if your washer isn’t quite up to scratch you may want to loosen the dirt a little first with a stiff bristled brush.
Pros:
• Fast
• Little elbow grease required
• Large surface areas can be cleaned quickly
• Chemical free
Cons:
• Poorly performing pressure washers may not lift dirt well
• Costly to buy and loan
• Can lift jointing material
Method two: soap & water
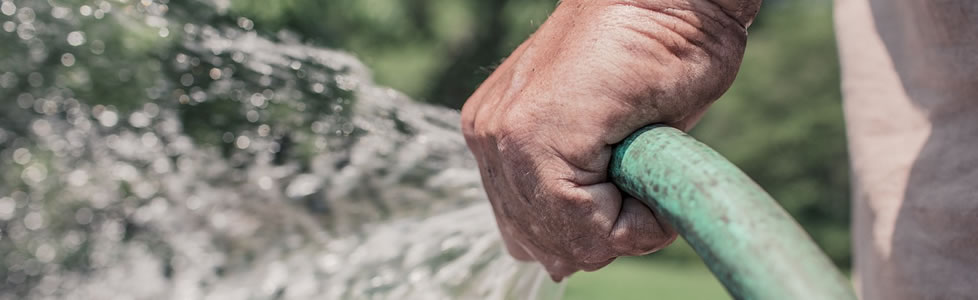
This method requires a decent amount of elbow grease but offers an inexpensive and gentler alternative to other patio cleaning methods. To clean your patio using soap and water you will need to mix a solution of one part washing up liquid and three parts warm water in a bucket and throw over your patio. Scrub in the solution with a stiff bristled brush and rise away with a hose.
Pros:
• Will lift stubborn dirt
• No strong odour or harsh chemical residue
• Very inexpensive
Cons:
• Fairly labour intensive
• Not ideal for large surface areas
• Time consuming
Method three: bleach
Household bleach can be used diluted in water to clean patios and paths effectively. This method may be one of best options if you need to tackle a build up of algae or if your patio is covered in a wealthy build up of grime. This method will also disinfect and deodorize so is great if you have pets. Just be sure to rinse thoroughly after applying your bleach solution as you don’t want to irritate your pet’s skin or lungs. Dilute one part bleach in five parts water and pour over your patio. Work in the solution with a stiff bristled brush and rinse away thoroughly. If you are tackling particularly stubborn dirt you may want to leave the solution on your patio for a couple of hours/overnight before rinsing away.
Pros:
• Will effectively remove dirt and algae build up
• Inexpensive
• Readily available
Cons:
• Fairly strong odour
• Skin and eye irritant
Method four: patio cleaner
Patio cleaners are specially made solutions designed to tackle the stubborn dirt that builds on patios and paths over time. Whilst generally very effective, Patio cleaners can also be quite harsh, so if you are sensitive to strong odours this method may not be suitable for you. Patio cleaners can also irritate skin so be sure to wear gloves whenever using the cleaner. There are various patio cleaners on the market ranging in price and effectiveness, so do your research and check reviews before buying.
Pros:
• Effective at removing stubborn stains and dirt
• The product does most of the work for you (little scrubbing is required)
• Fairly Inexpensive
• Readily available
Cons:
• Odour can be quite strong
• Skin and eye irritant